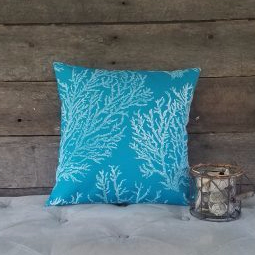
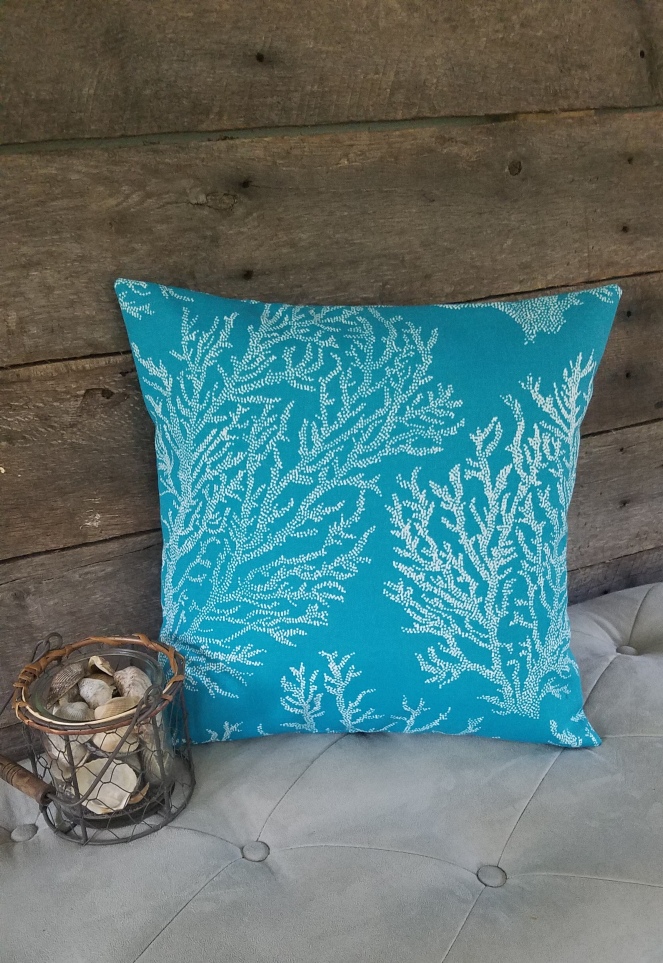
Pillow covers are one of the easiest and cheapest ways to change your decor on the fly! Even better…they’re super easy to make! I have been making pillows and pillow covers for a while now, and my grandma asked me to make her some for their beach house. No problem! Figured I would make a tutorial while I was at it!
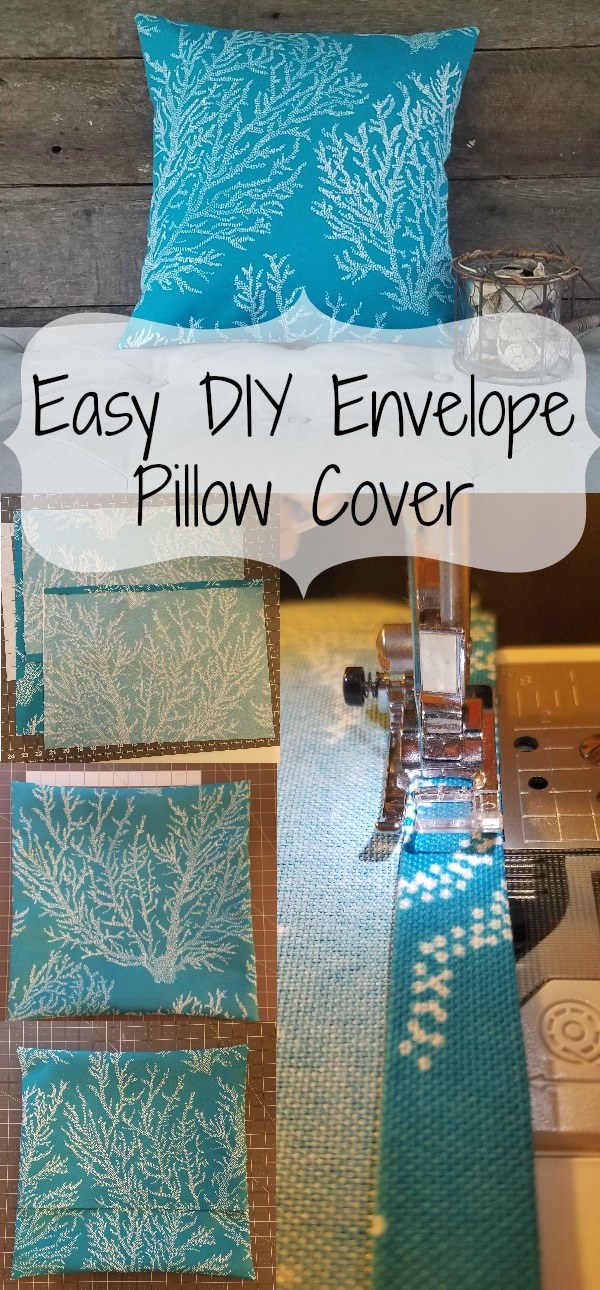
I have to say, I absolutely LOVE the material she gave me for these pillow covers! When trying to figure out what type of fabric to get, you definitely want to go for feel (besides stretchy fabrics like knit) and durability. I really like duck cloth, heavier cotton fabrics (preferably not quilting fabrics, as they can be too thin), and upholstery fabrics. These are all great options for pillow covers because they will hold up to washing and come in a variety different patterns!
Keep in mind the fabric pattern and direction when figuring out how much fabric to purchase. Here are some good tools you can use to determine exactly how much you need>>>
*I will be making a 16″ pillow cover so all the fabric amounts will be for that size*
Another good options for a pillow cover is just to use up some scraps! You really don’t have to have the same print for the front and back panels, get creative with it! You could even sew some scraps together to make a cool patchwork pillow.
Why an envelope pillow cover and not a zipper?
- Zipper pillow covers are very nice, but zippers suck.
- No one sees the back of the pillow anyways!
- It’s literally one of the easiest sewing projects.
- Costs less and takes less time!
Easy DIY Envelope Pillow Cover
Supplies:
(supplies listed for 16″ pillow – see above for fabric amount recommendations for larger sized pillows)
- 1 Yard Fabric…here are some of my favorites fabric collections
- Thread
- Scissors
- Sewing Machine
- Ruler
- Pins
- Pillow Insert or old pillow
Directions:
- Calculate your sizes to cut your fabric pieces:
- Front Panel = size of the front of pillow + 1″ both directions for seams
- Back Panels = width of the front, and (length ÷ 2) + 5″ for overlap (see example below)
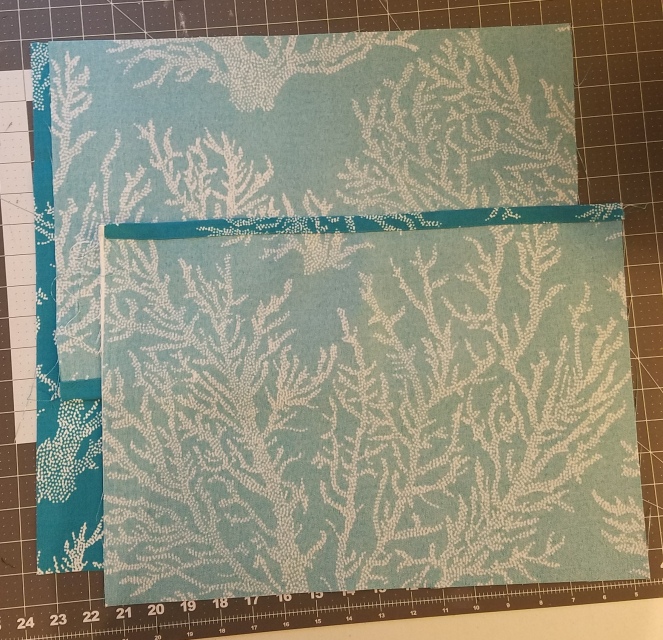
- Cut your fabric to the following dimensions (considering pattern direction and pillow size) for a 16″ pillow:
- Front = 16 + 1 = 17 ⇒ 17″ x 17″
- Back top panel: 17″ wide, (17 ÷ 2) + 5 = 13.5″ ⇒ 17″ x 13.5″
- Back bottom panel: same as top panel ⇒ 17″ x 13.5″
 cut 2 – back panels; 17″ x 13.5″
 front 17″ x 17″
 all 3 pieces
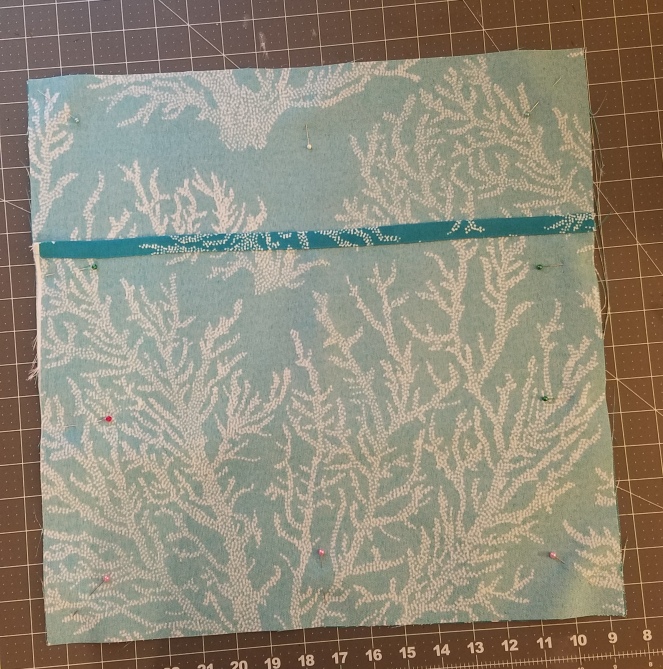
- Hem the bottom of the back top panel, and the top of the back bottom panel by folding the edge over 1/4″, iron, repeat (there will be no raw edge). Top stitch. I also chose to do a single stitch for the bottom panel and a double stitch for the top panel so (1) it looks a little nicer, and (2) I could tell the two panels apart.


- Lay your pieces down in this order:
- Front panel – right side up
- Back top panel – right side down
- Back bottom panel – right side down
- Pin. Stitch around all four sides using a 1/2″ seam allowance.
- Clip corners (careful not to cut through stitching)
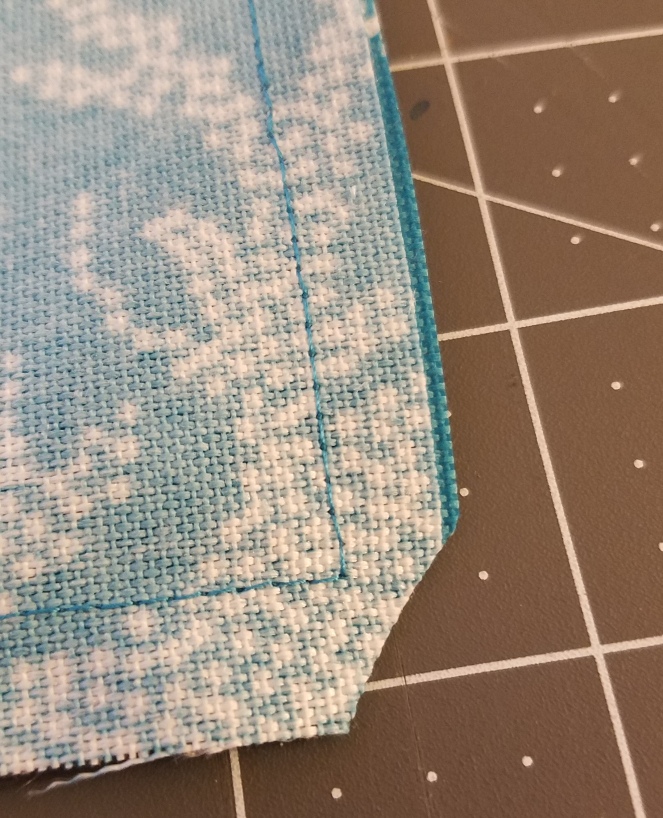
- OPTIONAL – serge, zig-zag, or overlock stitch the inside raw edges. This will help the pillow to withstand fraying through use and washes!
- Turn the pillow cover right side out, push out the corners (an old chopstick works best!), and stuff it with your old pillow or pillow insert!
 Back
Back Front
Front
Please take a moment to visit my Etsy shop, Keystone Peach Decor, to check out some of my creations!
Keep on craftin’!

Wow!! I love your envelope pillow cover!! Love the design too!! Perfect for Christmas!! Thank you for sharing!!
LikeLike
I’m so glad you like it! 🙂
LikeLike